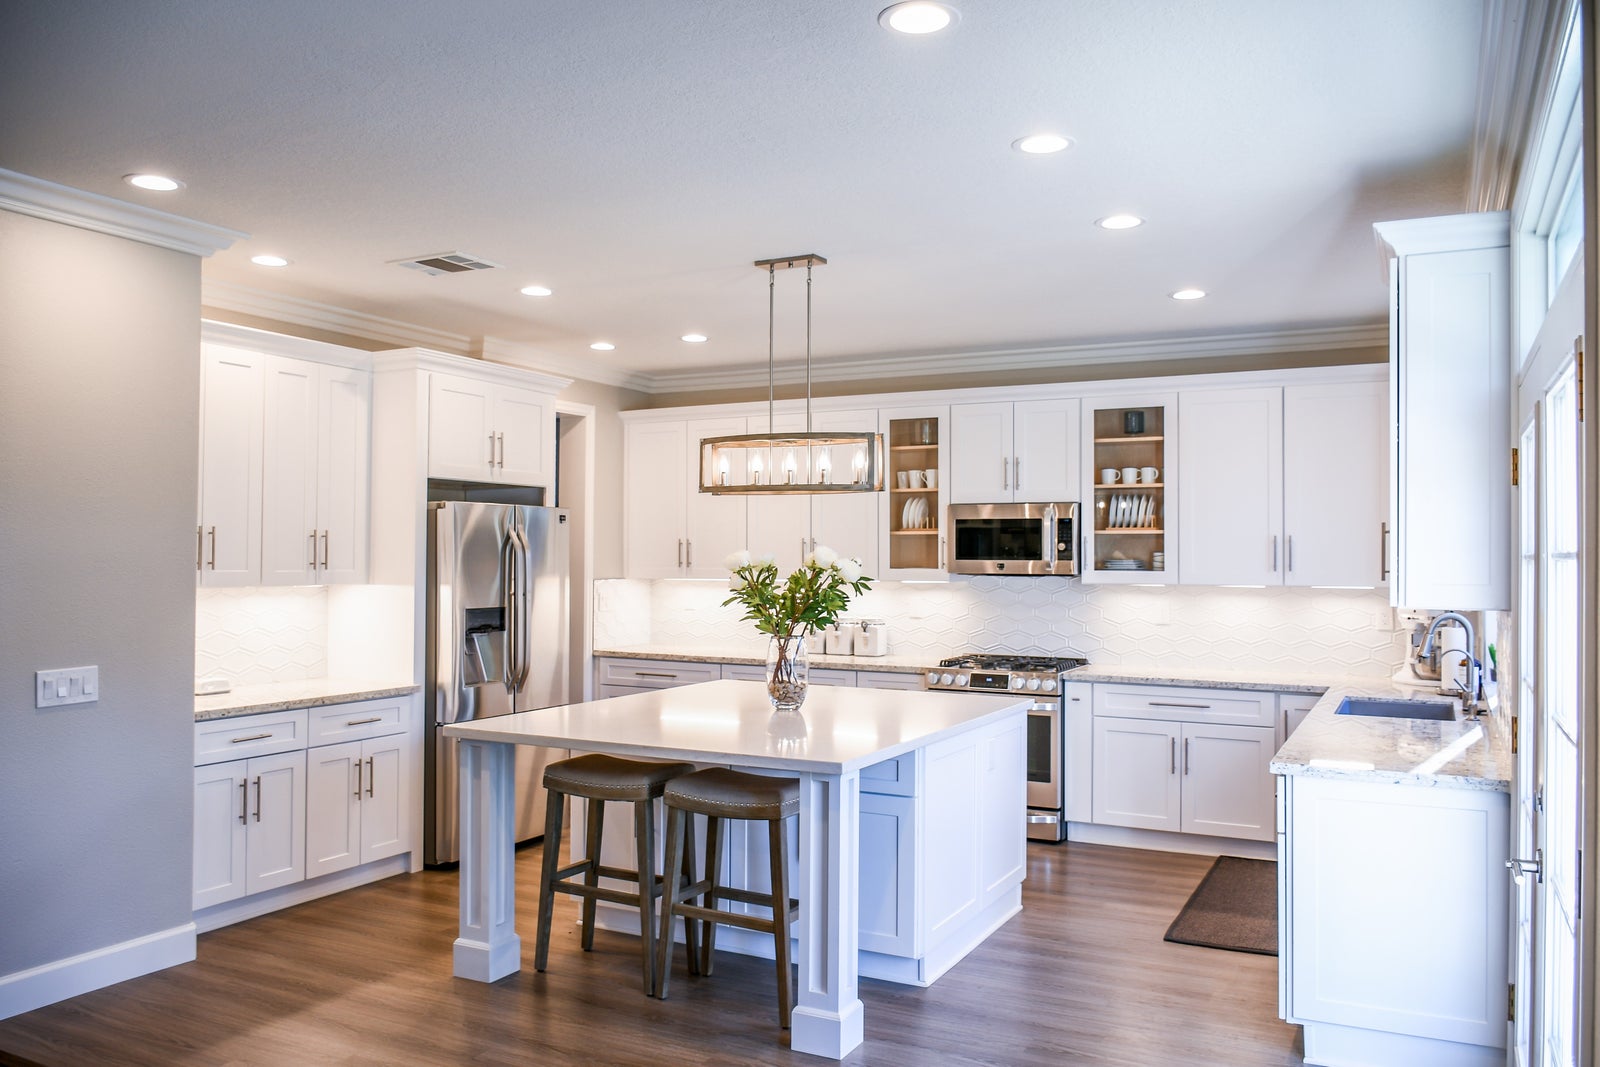
For the do-it-yourselfer, Ikea is a great place to find loads of ideas and materials. For this DIY project, we’re going to use Ikea’s Billy Bookcases to create a kitchen island that’s as beautiful as it is functional.
If you’ve ever wanted an island in your kitchen but couldn’t justify the expense, this project is for you. Gather the following supplies and let’s get started!
Things You’ll Need
3 Billy Bookcases (two 31×40 inch, one 15×40 inch)
1 Numerar butcher block countertop
1-inch particleboard screws
2x4s
Liquid nails
Finishing nails
Molding
Beadboard
How It’s Done
Step 1: Assemble the bookcases.
Step 2: Attach the bookcases to each other by countersinking 1-inch particle board screws three inches from the top and bottom.
Step 3: Make cleats from 2x4s and attach the shelves to the floor.
Step 4: Attach the butcher’s block to the top of the shelves to make it look like one solid piece of furniture. Use Liquid Nails and finishing nails to make it sturdy.
Step 5: Finish the island by cutting and attaching molding and beadboard. Stain or paint the island to match your kitchen décor.
For just the cost of a few Ikea bookshelves and some building materials, you can have the kitchen island you never thought you’d have. Follow the five easy steps above to upgrade the kitchen in your home.
